ClickDealer Platform Feature Breakdown: Global Postback

ClickDealer’s affiliate portal is designed to be navigated intuitively – but it never hurts to once again go over the ropes and ensure that no detail is left out of sight.
In this article, we are going to take a closer look at a couple of useful features and capabilities of our affiliate portal that any pub ought to know and apply, for knowledge is what gives us the ultimate power.
So, let’s jump in!
One of the key innovations of our affiliate portal is an option for you to set up global postbacks manually, without the need for your manager’s participation.
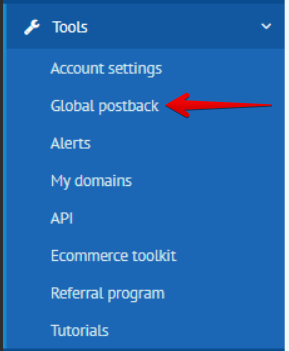
To do so go to: Tools → Global Postback and fill in the appropriate fields.
There will be hints on the best use of additional parameters on the platform, but let us share the main suggestions here again.
We recommend adding the following 3 variables to your postbacks for ultimate tracking accuracy:
- #s2# for clickid (which you should pass to us in the s2 parameter of your tracking links);
- #price# for payouts (so that you get them dynamically and not miss any optimizations or redirected traffic)
- #leadid# for unique id of each conversion on our end (so as to be able to easily match them against conversion reports – and also to dedupe based on leadid for offers with multiple events per user)
* for ecommerce, this should be #tid# instead – to receive order ids directly from the advertiser.
There is probably no need to once again talk about the convenience of setting a global postback once instead of adding to each campaign individually. And if you need an additional pixel/postback to be set on an individual campaign (e.g. to fire into your tracker and your traffic source) – we’ve got you covered on that, too!
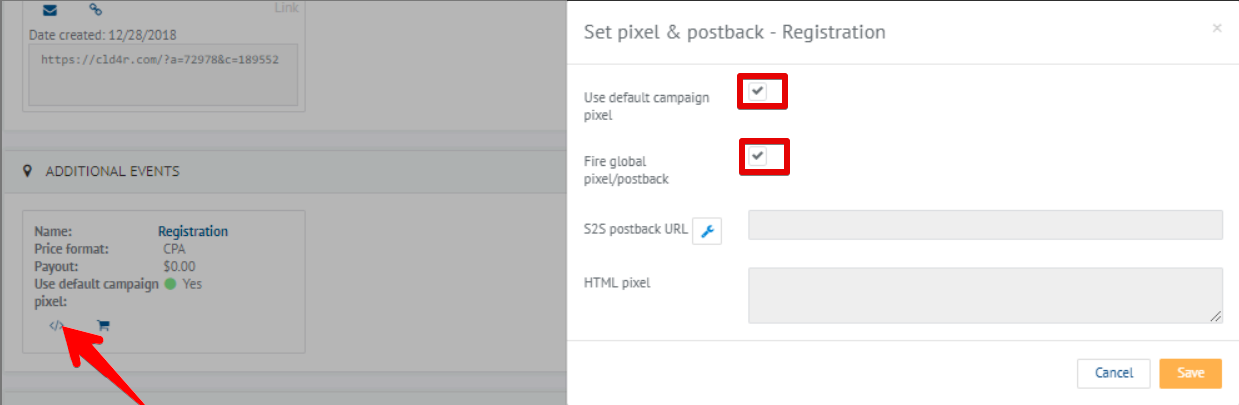
You can add an extra postback on the campaign level and either have them both fire simultaneously, or disable global one on the campaign level. To do this, simply uncheck the Fire global pixel/postback checkbox shown on the screenshot below:

Another level of the global postback setup available is that on individual events – which should be extremely helpful on offers where multiple actions are tracked. This way, you can leave global postback to only fire on the payable action and add different pixels/postbacks to the stages of the funnel that are tracked for reference.
To do this, open the Additional Events tab on the respective campaign page, empty the Use default campaign pixel & Fire global pixel/postback checkboxes, and set up your event-specific postback (e.g. you can simply add ‘&event=registration’ to the original postback to differentiate between them on your end).
This way, your global postback fires upon the main action on the campaign (i.e., conversion), while the event-level postback is triggered by a particular event (registration etc.).
Once you have the postback(s) all set up, it’s a good idea to run a test to make sure everything is configured correctly.
Good news: you don’t have to go for an actual conversion using a VPN and/or emulator, no ;)
We’ve developed a convenient Testing functionality for you to avoid all that! What it does is it ignores any geo/device etc. rule on the offer and simply triggers your postback with your test clickid without creating an actual lead and adding it into the stats – simple and convenient!
To access the Testing page, hit the Test postback button on the same Tracking Pixels tab as before. Pick the postback you want to test, hit Fire test conversion and follow the instructions given by the platform.
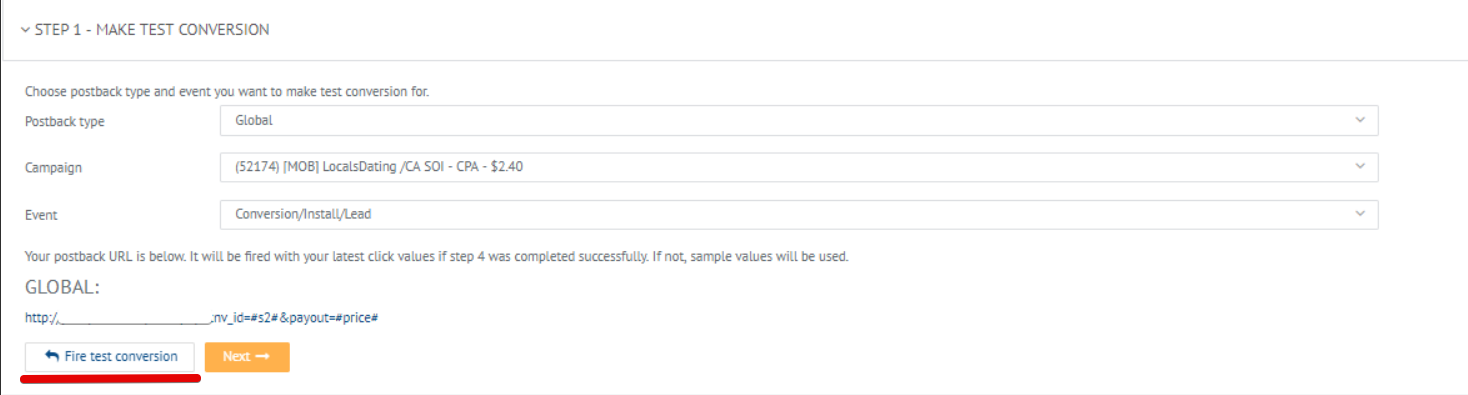
Once the test conversion goes through, you will see testing results on the same page and will know whether the setup is correct.

As you can see, the whole process is as simple and convenient as it gets, and saves you a ton of time and effort.
Now that you know exactly how to set up and test both global and campaign/event-level postbacks with ClickDealer, apply the knowledge to your best benefit and stay tuned in for the next feature walkthrough!